Somebody recently posted me a message on Facebook for ideas for a ‘Make Do and Mend’ style birthday party for a 7 year old.
My first thought was, “wow, what a fab idea!”
My second thought was, “would this make a good business..?!”
And my third thought was “ermmm…..”
But having got the rusty cogs of my brain whirring, I remembered seeing lots of posts of paper beads on Pinterest, and thought this might well be something that was within the scope of your average 7 year old, and it was for a 7 year old girl, so they could all make jewellery from it, AND no need for party bags, as they have made ‘beautiful jewellery’ to take home!
I duly posted the link, and got some photos back of some trial runs they had done, so job done there!
But then I thought this might be quite a fun thing to do with BigSmall.
So we had a go!
I followed these instructions on Honest to Nod, but we made our own glue. Yep, you read that right, we made our own glue..!!
BigSmall has a great book (which we bought before the start of the year!) called Make It! by Jane Bull. The tagline is “don’t thrown it away, make something amazing” and all of the crafts in there are basically re-using rubbish. It is fab.
Anyway, in there, there is a recipe for “eco-paste”, and this is what we made.
I was quite sceptical about it at first, but it’s really great stuff! I am sure I am probably the only person on the planet who has never made glue from flour and water, but humour me. Apparently you can still recycle the things that you make with it, because it will just break down, so when you’ve displayed your little darling’s amazing art work for the statutory minimum period, it can quietly be placed in the recycling bin (out of sight to avoid enraged sqwuaking about you disposing of said amazingness..)
Just in case you have also had a deprived sheltered upbringing, I am going to share with you the wonder that is ‘eco-paste’…
All you need is flour and water, in a 1 to 3 ratio, ie. 1 part flour to 3 parts water. The book instructions used paper beakers, we used a 1/2 cup measure as I wasn’t sure how much we would need, and I figured it would be better to make more if we needed it, rather than throw a load away at the end (apparently it is best made fresh each time you use it, but it’s really quite easy so this isn’t especially a biggy)
Initially, you mix the flour and one part of the water together in a small saucepan, stirring until it is smooth. Then you add the remaining two parts of water and heat it until it boils. As I have already confessed, I am not wise in the ways of flour glue, You have to keep stirring it all the time. I didn’t and came back to it after about a minute on the heat to find large clumps of partly cooked flour. I had to whisk like mad to get it all to redistribute, but it seemed to come out ok. Once it has boiled (or you get bored and it looks quite thick-think stiff peaks on egg whites) turn off the heat, pour/spoon/slop it into a bowl and leave it to cool. This is the only slight disadvantage with this-you have to do a little forward planning and have made it before you want to make something-not always easy with toddlers/pre-schoolers who aren’t the best at waiting (to put it mildly). We used ours after about 20-30mins-this was as long as we could wait.

Our homemade “eco-paste”
So glue made, we moved onto the paper beads.
We used an old magazine, but if you wanted a slightly more sophisticated look, you could go for old sheet music, or vintage books, or anything really.
Take an A4 sheet of your chosen paper, and make marks about every 3cm along the top. Then, along the bottom, starting 1.5cm in, do the same. Then join the dots to make long thin triangles, like this:

I marked out my triangles with marker pen so you could see them, but for a more subtle approach, I recommend using a pencil!!
Cut out your triangles, and then you can start rolling…
You need something to roll it around, like a skewer or a knitting needle.
Then start rolling then paper triangle fat end first around the knitting needle. Wrap it around several times before even thinking about glueing, otherwise it will stick to your needle (learn from my mistakes…)
Then get your Small person to paint a ‘smee’ of glue down the rest of the triangle and roll away..

Gently slide up to remove from the needle, and leave to dry.
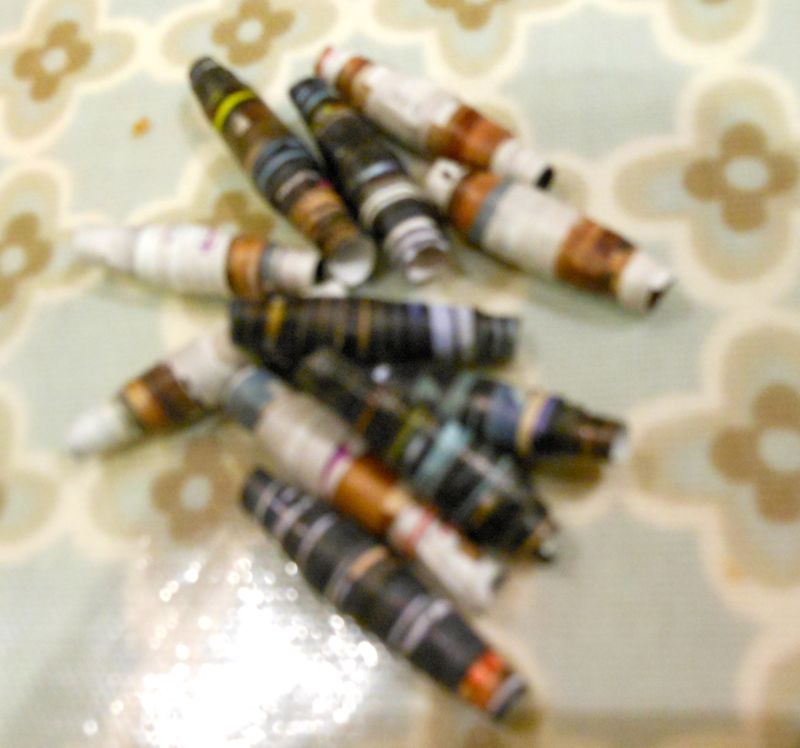
Then you can have fun making all kinds of ‘beautiful jewellery’. I know I have boys, and maybe it is mean making them make necklaces, but I figured the whole threading thing has to be good for hand-eye co-ordination.
Wear your creation with pride!!

BigSmall declined to be photographed in his necklace, so I had to model it…

So pretty! The party is next Sunday (17th) so will let you know how the girls get on! We are also making door hangers with rectangles of thick card from the scrap store and keyring charms for book bags…..!
Sounds awesome! I am so impressed. Can’t wait to hear all about it 🙂
You could get the boys to add beads to an old beanie hat (think Australian bushman style) for when you go walk-about in the summer (when/if we get any) … there’s loads of ways to use the beads … ❤ ur blog !
That’s a great idea Vivienne! Here’s hoping for some sun this year…
So glad you are enjoying the blog 🙂
Never mind the kids, I’ll definitely be making these!
Yay! Send me a pic 🙂
Probably not suitable for kids but you can make a good wood glue from rabbit skins, it still in common use used for violin making.
Not sure I fancy trying that one..!
I was looking for plant based glues or something you could grow yourself (apart from rabbits) but the best I came up with was a rubber tree.
Flour and water seems slightly less hard work…! And pretty sustainable too 🙂
Excellent idea, love the idea of making your own glue (kinda like making white sauce). Well done you. :o)
Thanks Jo! Really easy too 🙂
Pingback: Arts and Crafts on a Budget | Early Years Money Saving | Free EYFS / KS1 Resources for Teachers
Hi Jen can you tag the home made glue in this blog as “eco-paste” so its easy to find, I just trawled back through 4 months as i need it to do a Fathers Day card with my Grandson xxx
Ignore comment above I just realized you already had but didn’t see it sorry !
Have fun making 🙂